
Best Foam Roller Exercises for Athletes
Nine essential foam roller exercises, with technique cues for runners, field-sport and gym athletes.
What you'll learn
- Nine key foam roller exercises
- How long and how hard to roll
- How to combine rolling with movement
- Routines for runners and field sports
The problem
Most people foam roll by lying on the roller and moving back and forth quickly, often on the most painful spot they can find. That rarely helps. Good rolling is slow, controlled and followed by movement.
How foam rolling works
The exact mechanism is still debated. Current thinking is that most of the effect comes from the nervous system: pressure changes how sensitive the area feels and how much it allows the muscle to lengthen, rather than physically breaking up tissue. That explains why the benefits are real but short-term.
A 2019 meta-analysis found that foam rolling can produce small improvements in sprint performance and flexibility when used before exercise, and small reductions in perceived soreness afterwards. A 2024 systematic review reached similar conclusions on soreness. The takeaway: foam rolling is useful when used sensibly as part of a wider routine.
General technique
Roll slowly, about one inch per second. Spend 30 to 60 seconds per area. When you find a tender spot, pause and breathe for a few seconds, then continue. Pressure should be firm but tolerable, around six out of ten. Control pressure by shifting weight onto your hands or other leg. After rolling, move the area actively.
1. Quads
Lie face down with the roller under the front of your thighs, supporting yourself on your forearms. Roll from just above the knee to the hip. Turn slightly to each side to cover the inner and outer quad. For more pressure, roll one leg at a time. Follow with walking lunges.
2. Hamstrings
Sit with the roller under the back of your thighs, hands behind you. Lift your hips and roll from just above the knee to the base of the glutes. Cross one leg over the other to increase pressure. Follow with leg swings.
3. Calves
Sit with the roller under your calves. Lift your hips and roll from ankle to just below the knee. Rotate your leg inwards and outwards to cover each side. Stack one leg on the other for more pressure. This is a favourite for runners and GAA players.
4. Glutes
Sit on the roller and cross one ankle over the opposite knee, leaning towards the crossed side. Roll slowly around the glute. For more targeted pressure, use a massage ball instead.
5. Adductors (inner thigh)
Lie face down and bring one knee out to the side with the roller placed along the inner thigh. Roll from near the knee towards the groin, slowly. Adductors take a heavy load in field sports, and are often neglected.
6. Outer thigh and the IT band area
Lie on your side with the roller under your outer thigh. Many people find this very uncomfortable. The IT band itself is thick connective tissue that does not really lengthen, so focus instead on the muscles at the front and back of the outer thigh and on the hip. Keep pressure moderate.
7. Hip flexors
Lie face down with the roller just below the front of the hip bone. Roll small distances slowly. Follow with a kneeling hip flexor stretch. Useful for athletes who sit all day and sprint in the evening.
8. Upper back
Lie on your back with the roller across your upper back, hands supporting your head. Lift your hips slightly and roll from the bottom of the shoulder blades to the top. Avoid the lower back and neck. You can also pause and extend gently over the roller.
9. Lats
Lie on your side with your arm overhead and the roller under your armpit area. Roll a few inches down the side of your ribcage. Useful for swimmers, rugby players and gym athletes before overhead work.
Sample routines
Runners: calves, quads, glutes, hamstrings, then walking lunges. Around eight minutes.
GAA, football and rugby: quads, adductors, hamstrings, calves, glutes, then leg swings and lunges. Around ten minutes.
Gym and Hyrox: upper back, lats, glutes, quads, then band pull-aparts and bodyweight squats. Around ten minutes.
Common foam rolling mistakes
Rolling too fast. Quick back-and-forth rolling does little. Slow down. Staying on one spot for minutes. Pause for a few breaths, then move on. Rolling the lower back directly. The spine is not designed for that pressure; use a massage ball on the muscles beside it instead, or focus on glutes and hips. Holding your breath. If you cannot breathe normally, reduce the pressure.
Adding movement to rolling
A useful technique is to roll and then move the joint while holding pressure on a spot. For example, with the roller under the quad, pause on a tender area and slowly bend and straighten the knee a few times. This combines pressure with movement and many athletes find it effective.
Choosing your roller
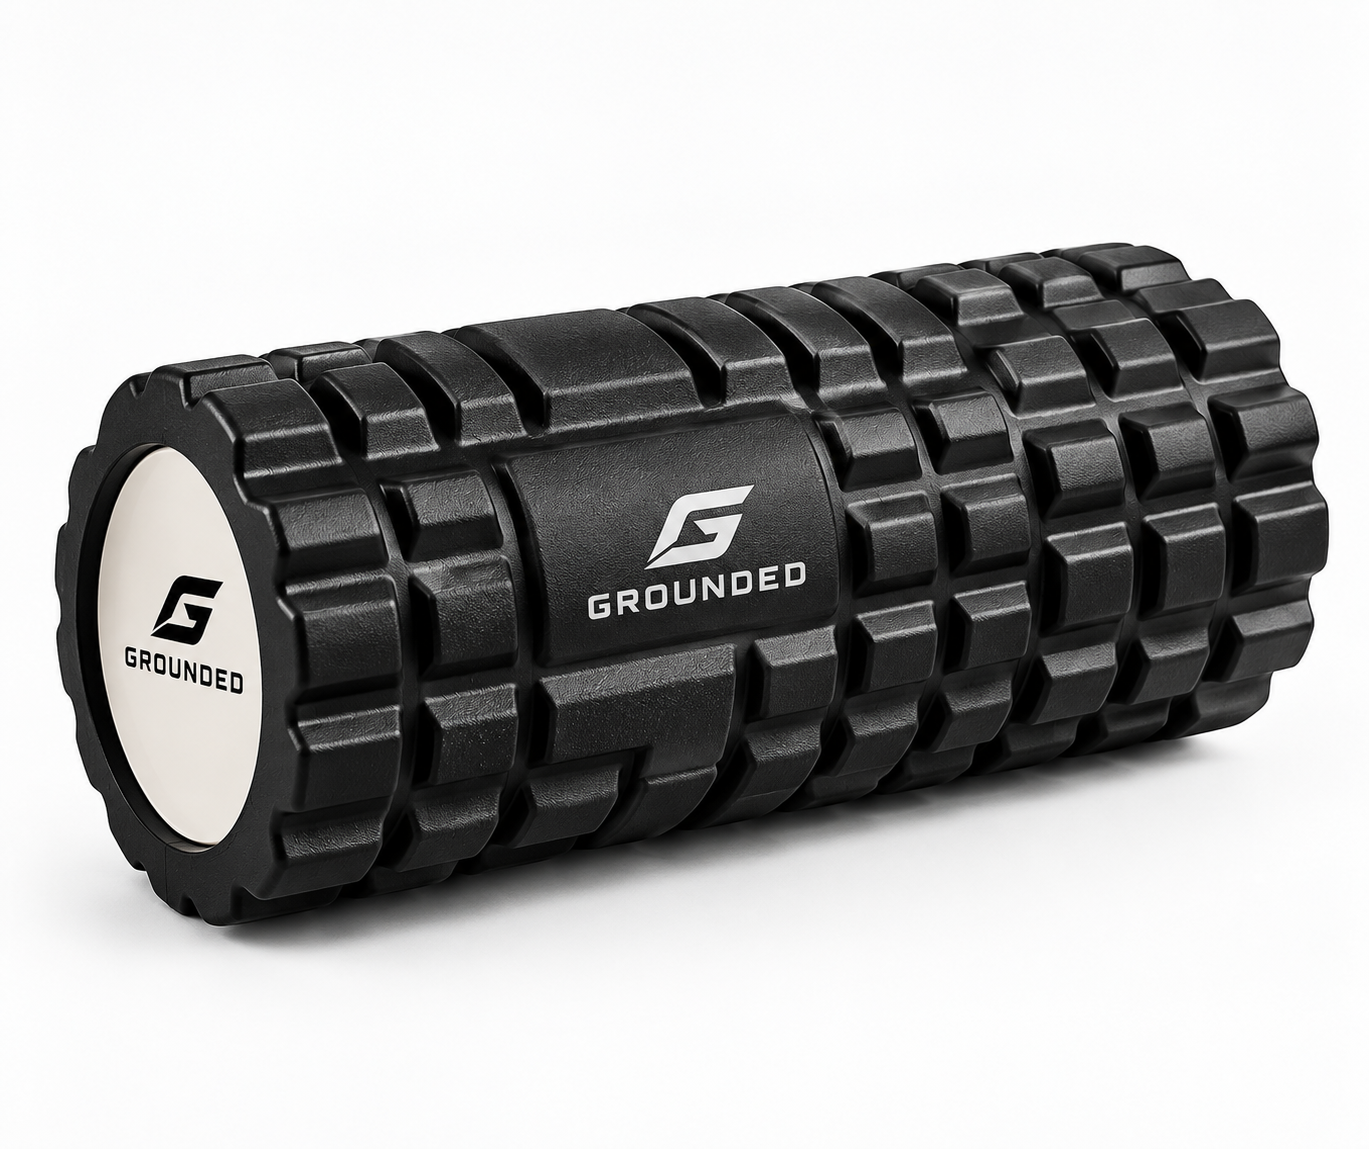
For most athletes, a firm, textured, compact roller offers the best balance of pressure, control and portability. Very soft rollers may flatten over time; very hard or spiky rollers can be too aggressive for everyday use.
What the research says
Evidence in context
Research supported
Preventive effect of foam rolling on muscle soreness after exercise: A systematic review and meta-analysis
Foam rolling after training is a reasonable, low-risk tool to modestly reduce next-day and 2-3 day post-exercise soreness. It is not a cure for soreness and effect sizes are small-to-moderate.
Research supported
A Meta-Analysis of the Effects of Foam Rolling on Performance and Recovery
Foam rolling can be used as part of a warm-up (does not reduce power/speed, may modestly help) and as a recovery tool post-session; benefits are real but small in magnitude.
Grounded summarises peer-reviewed sports science in simple language. Recovery tools support good training habits—they do not replace sleep, nutrition or structured training.
Grounded Recommendation
Keep the main thing the main thing.
Pick the three or four areas that matter most for your sport and roll them slowly for 30 to 60 seconds each. Always follow with active movement. Ten minutes done consistently is more useful than an occasional hour.
Step-by-step routine
- 01Choose 3–4 areas relevant to your sport
- 02Roll each slowly for 30–60 seconds
- 03Pause on tender spots and breathe
- 04Keep pressure around 6/10
- 05Follow each area with an active movement
- 06Repeat on most training days
Equipment that can help
Recommended because it fits the routine—not as a replacement for the fundamentals.
Recovery
Foam Roller
A firm, textured roller for purposeful warm-ups, mobility work and post-training routines.
View Foam Roller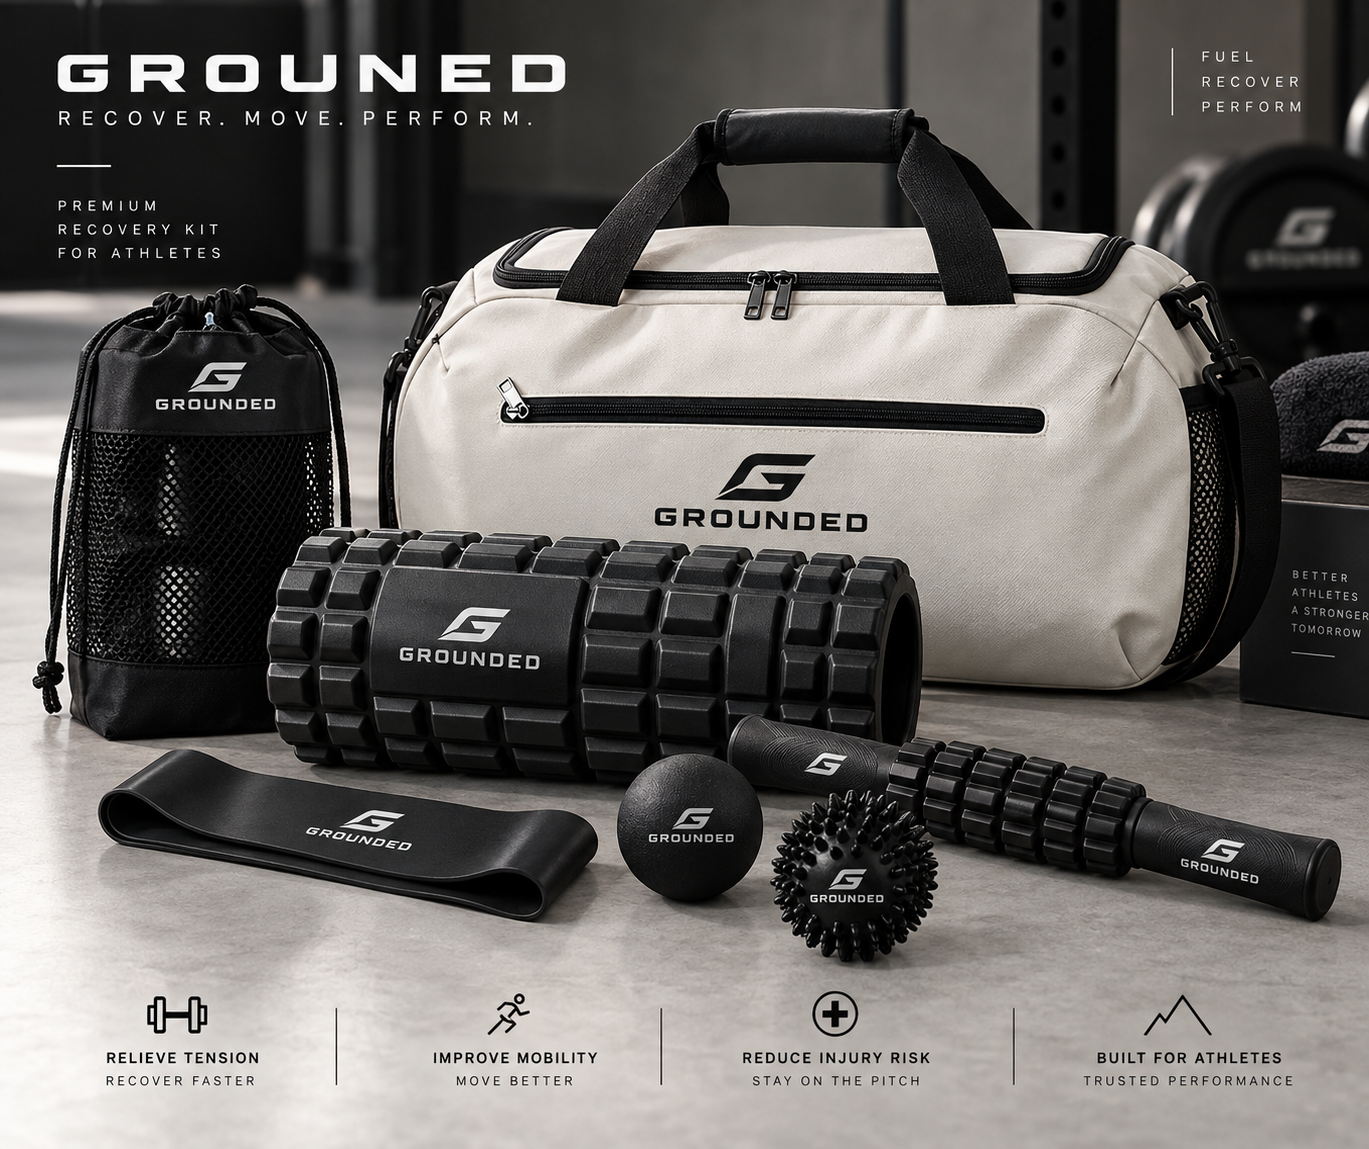
Recovery
Massage Ball
Compact, targeted pressure for feet, glutes, shoulders and hard-to-reach areas.
View Massage BallBest Seller
Recovery Kit
A complete system for mobility, activation and recovery, packed in a premium Grounded kit bag.
View Recovery KitFrequently asked questions
What is the best foam roller exercise for runners?
Calves, quads and glutes are the priorities for most runners.
Should foam rolling hurt?
It should feel like firm pressure, not pain. If you are tensing up or holding your breath, reduce the pressure.
Is it bad to foam roll your IT band?
It is not harmful, but it is often very uncomfortable and the band itself does not lengthen. Focus on the surrounding muscles and hip.
Can recovery tools replace sleep and nutrition?
No. Recovery tools support good habits; they do not replace sleep, nutrition or structured training.
When should I avoid foam rolling?
Avoid rolling over acute injuries, bruises, swelling, varicose veins or bones and joints. If you have a medical condition, check with a professional first.
Continue learning
Related articles
Post-Match Recovery Checklist for Athletes
A simple checklist to follow after every match, so recovery becomes automatic.
How Often Should Athletes Foam Roll?
Frequency, duration and timing, based on what the research actually says.
Foam Roller vs Massage Ball: Which Do You Need?
Broad pressure or targeted pressure? How to choose, and why most athletes use both.
Recovery notes